Introduction
If you've received a photo of a data table from a printed report, screenshot, or scanned document and wished you could easily transfer that information into Excel without manually retyping it, you're in luck. In this guide, we'll walk you through a straightforward, step-by-step process to extract table data from an image and convert it into an editable Excel format.
What All We Need
- A clear image of the table (JPEG, PNG, or screenshot)
- Using Microsoft Excel (preferably Office 365 or Excel 2019+)
Using Microsoft Excel's Built-in Tool
Below is the step-by-step process explained.
Step 1: Open Excel
Open a blank Excel worksheet where you want the table data to go.
Step 2: Go to the "Data" Tab
Click on the "Data" tab in the top ribbon.
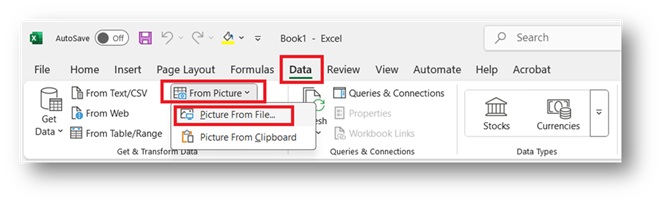
Step 3: Use "From Picture" Option
Click on:
Data > From Picture > Picture From File
It allows you to upload an image directly from your computer.
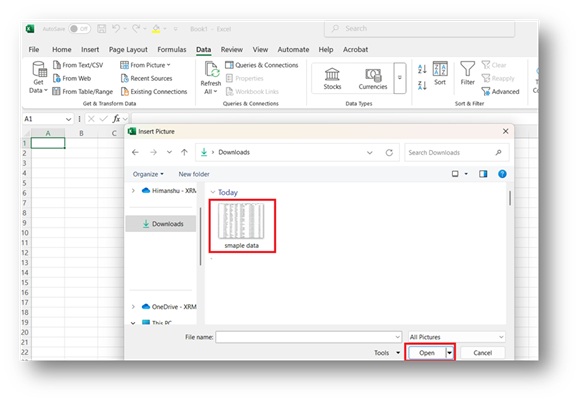
Step 4: Upload Your Image
Choose the image file with the table. Excel will scan the image and preview the data it detects.
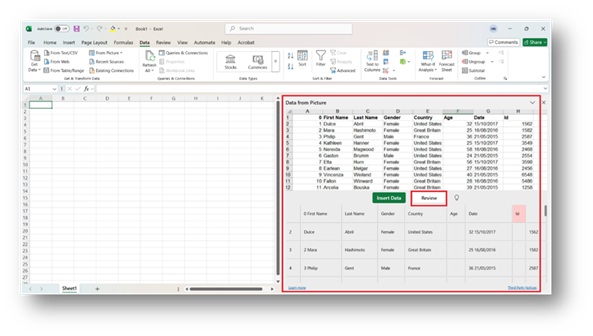
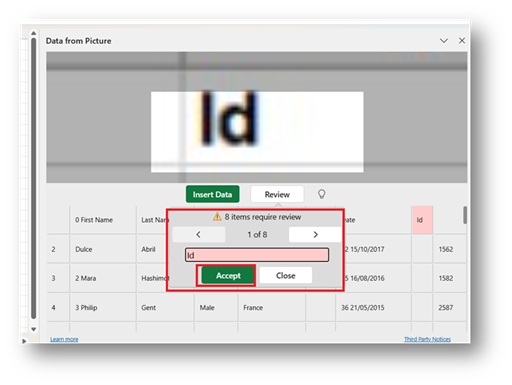
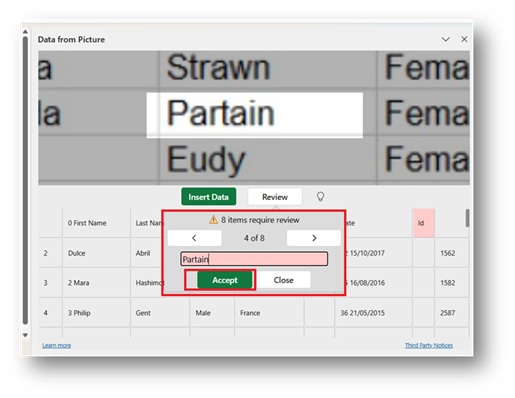
Step 5: Review the Extracted Table
Excel will display a side panel where you can:
- Correct any errors (like here I have shown two reviews out of the eight reviews highlighted by Excel below screenshot)
- Preview how Excel has interpreted the data
Step 6: Insert the Table into Excel
Click Insert Data, and Excel will paste the cleaned-up table into your worksheet.
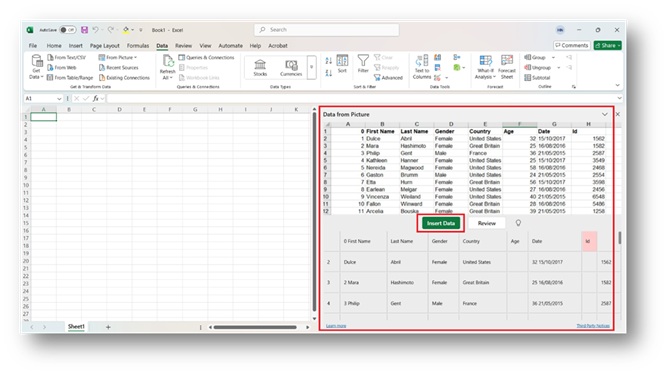

Done! You can now edit, analyze, or format your table as needed.