This feature is used to import data records for any entity (Account, Contact or Lead). You can use this tool to import data records from one or more comma-separated values (.csv), XML Spreadsheet 2003 (.xml), or text files for import but here I would like to focus mainly on contacts import in contact Entity. Let's see how data import works in CRM 2013.
Following steps given below:
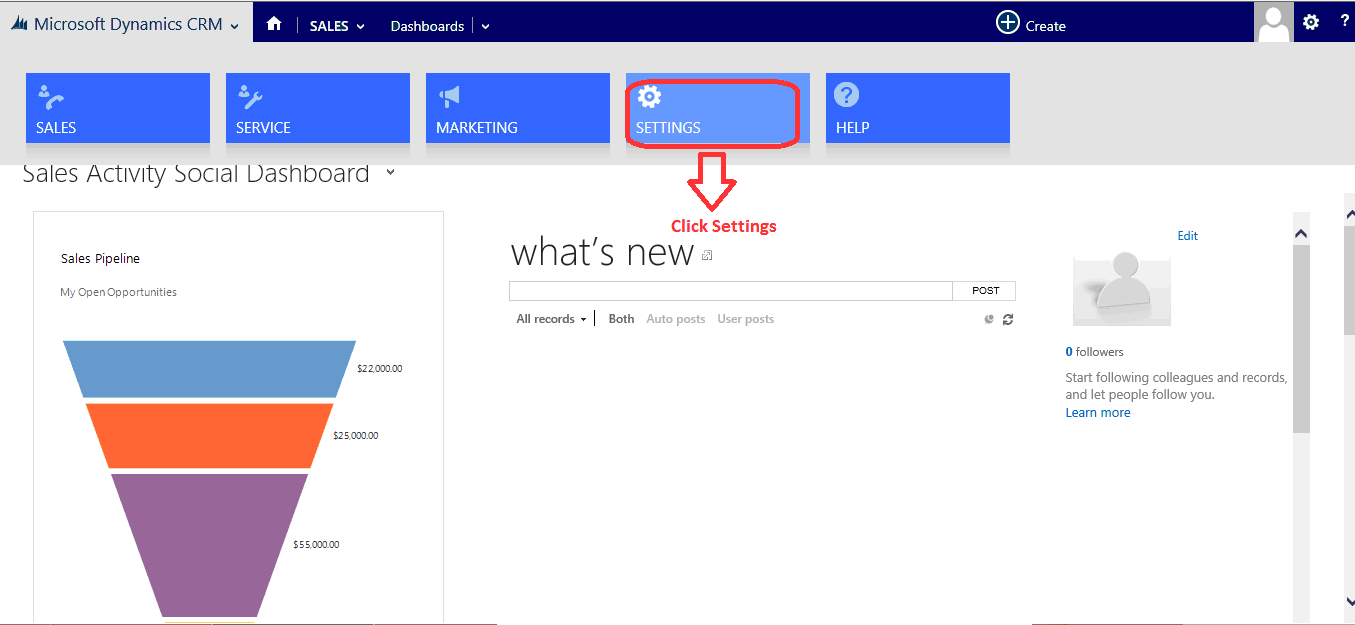
1. Open CRM System and click on Settings.
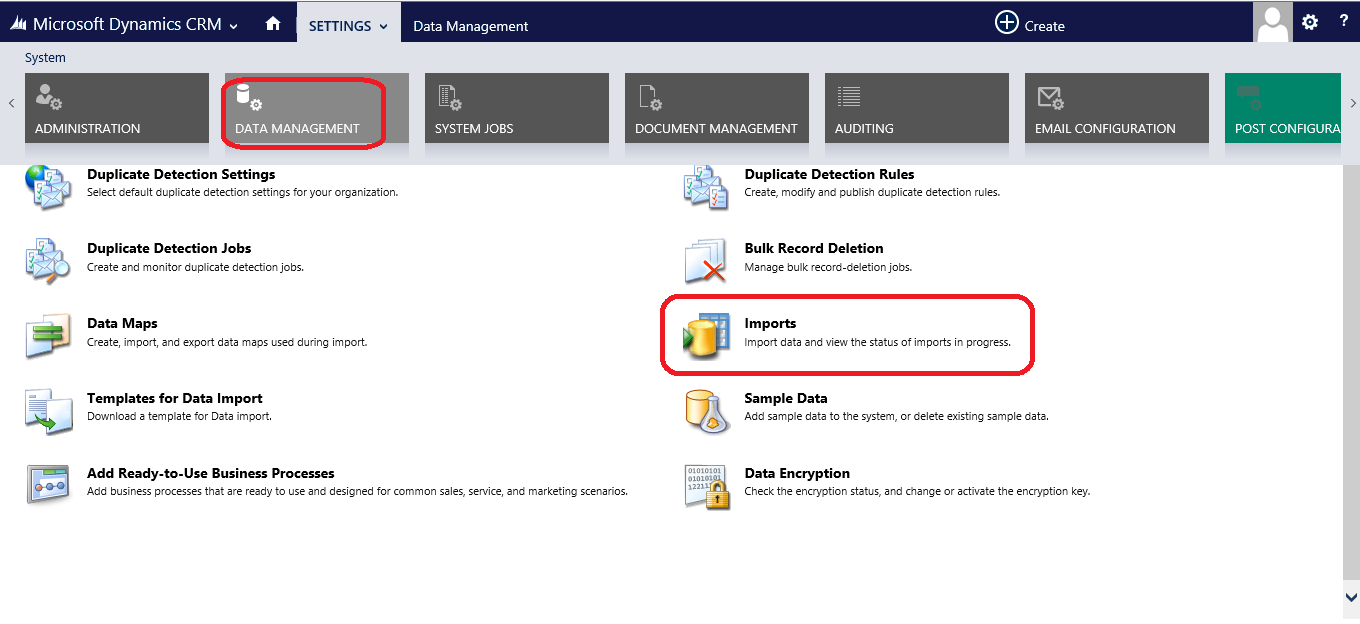
2. Click Data management then click Imports.
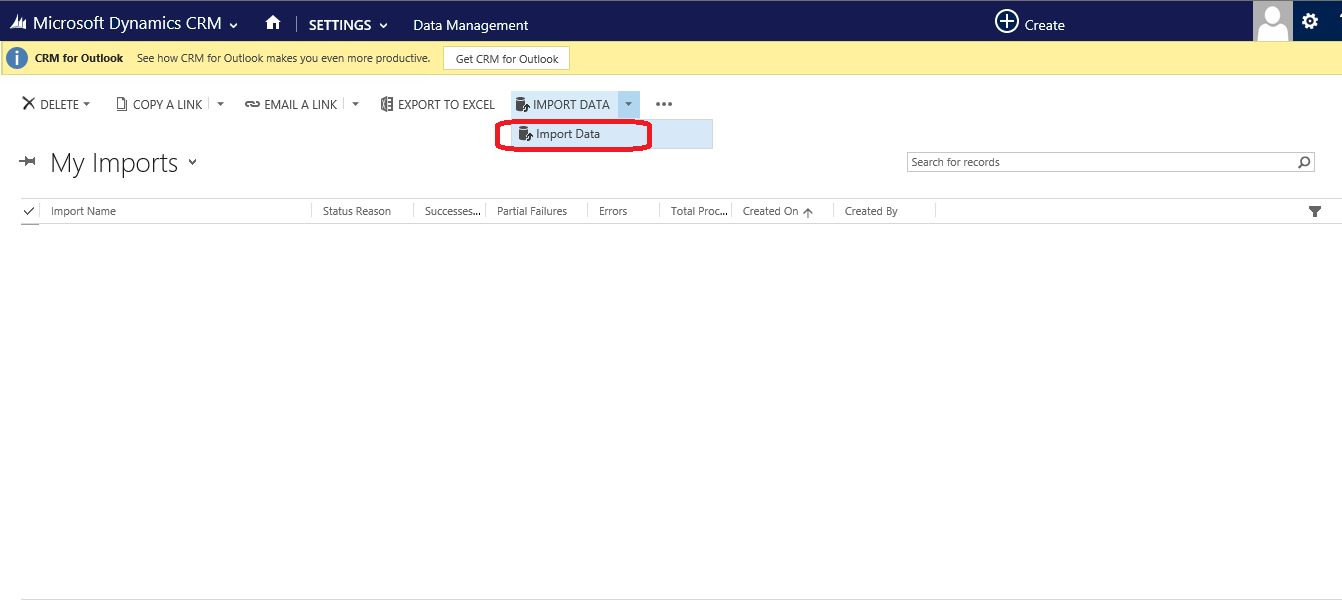
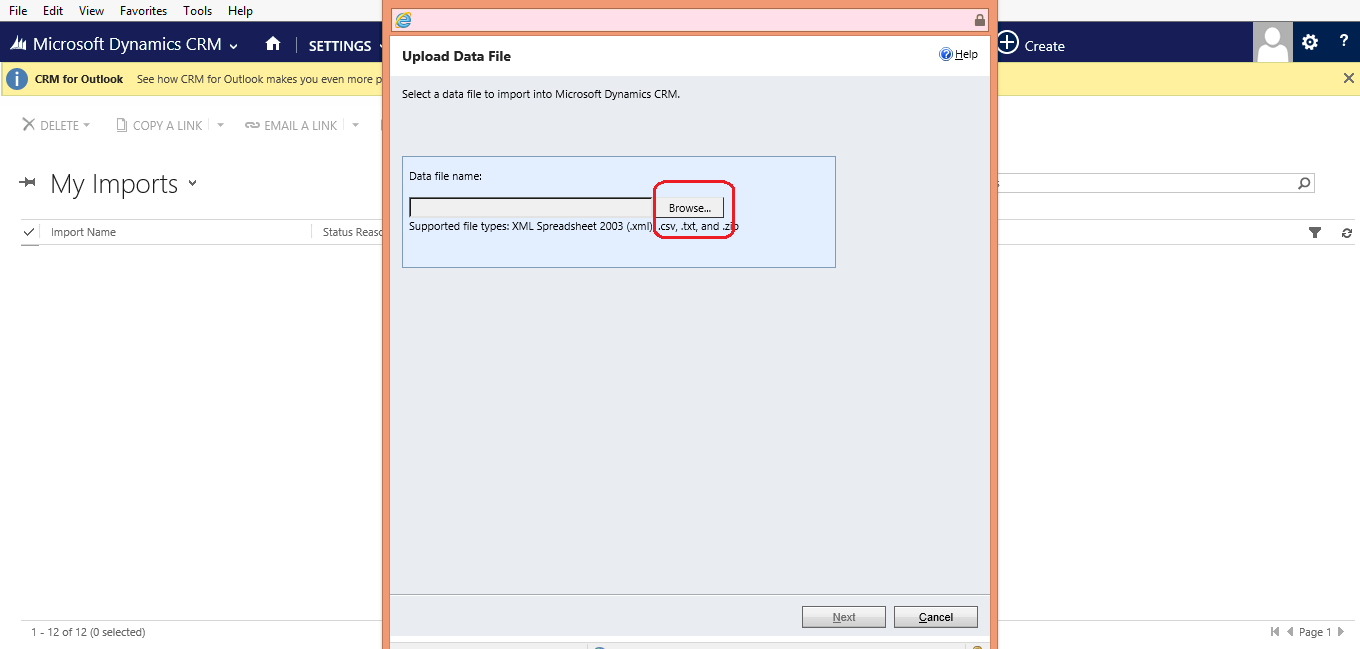
3. Click Import data.
4. Browse your contact’s excel sheet in .csv (the sheet should be in csv format)
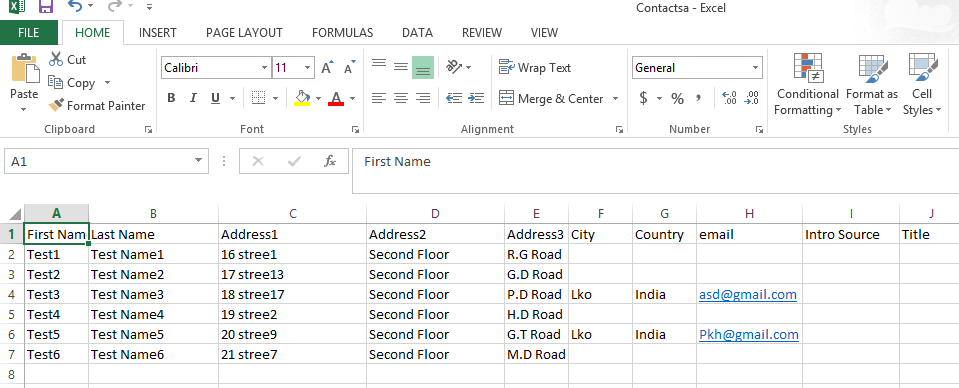
5. See the screen shot of excel sheet of some contacts in .csv format.
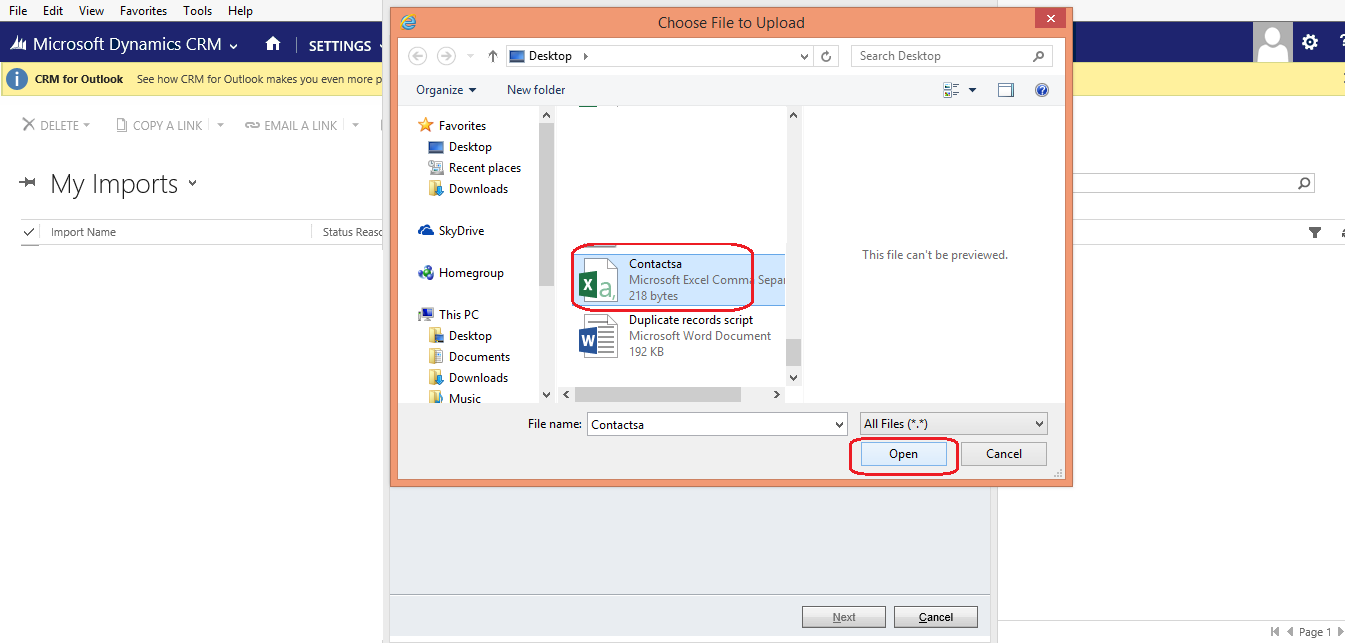
6. Select excel sheet for import of contacts then open.
7.Click next.
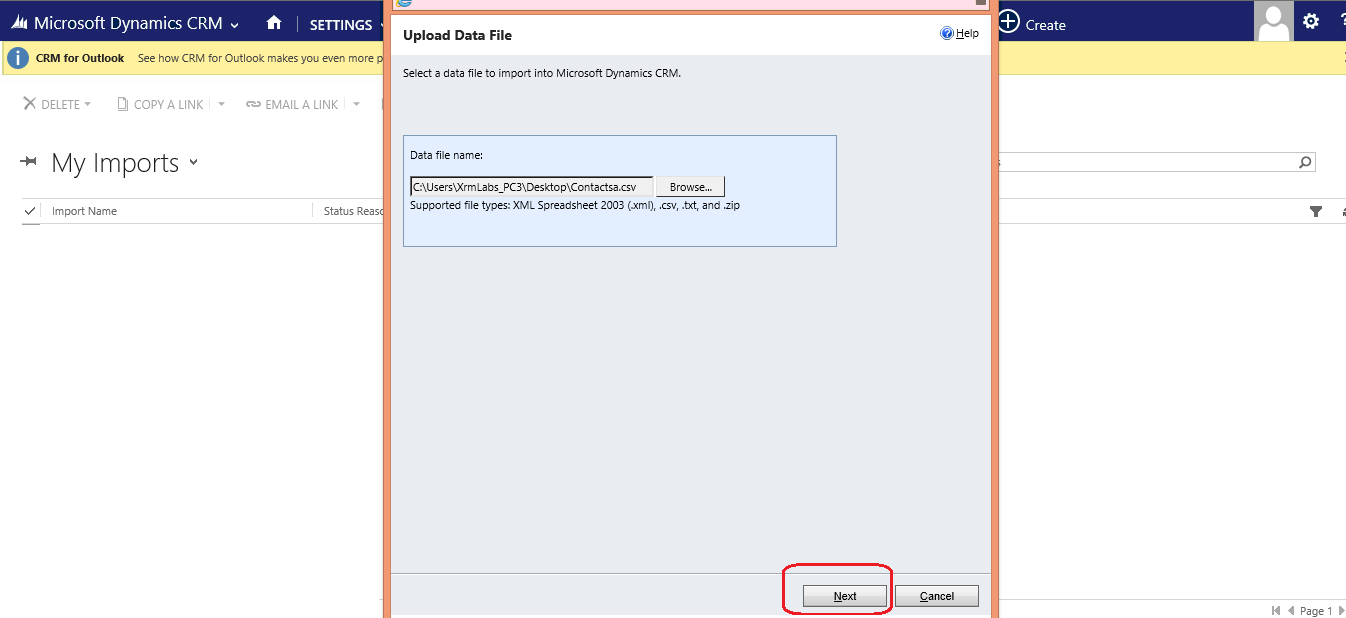
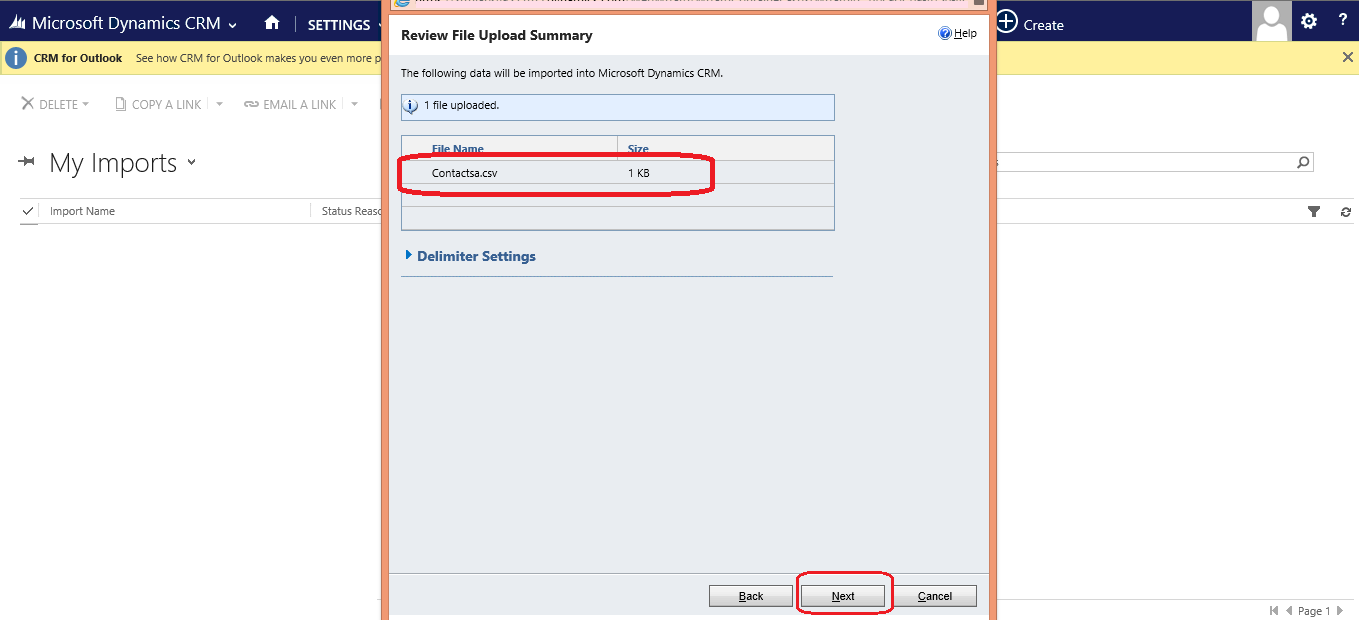
8. File uploaded and click next.
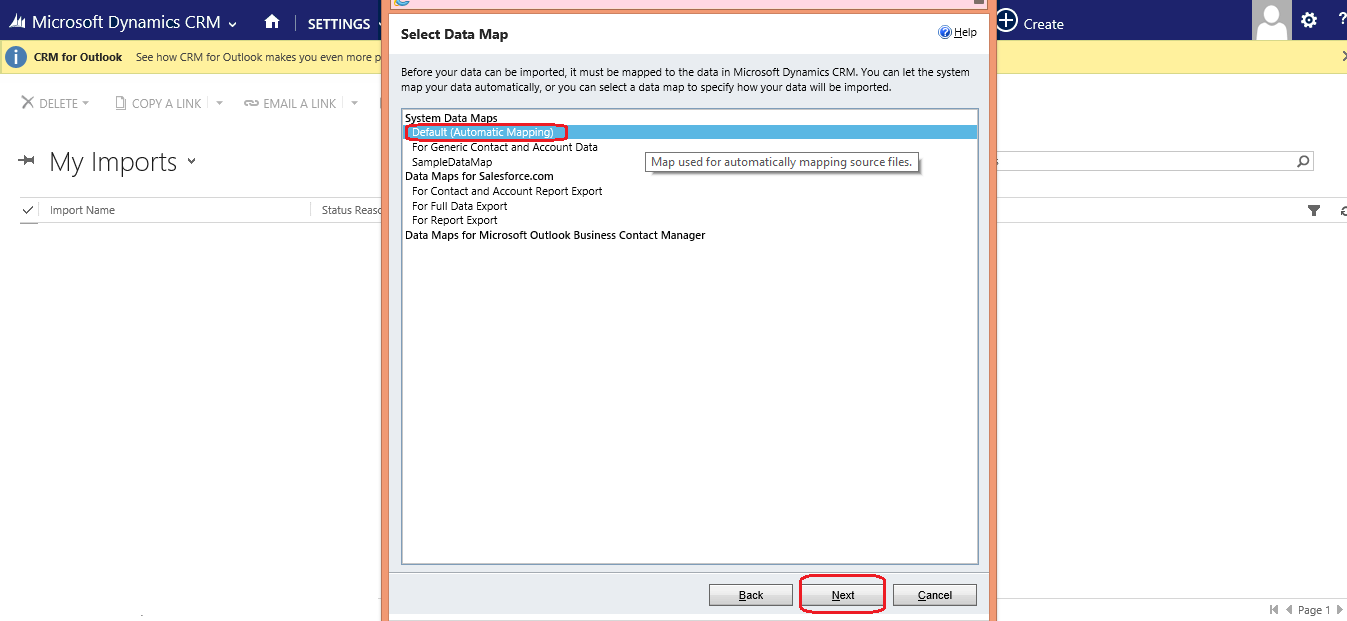
9. Select the highlighted section and click next.
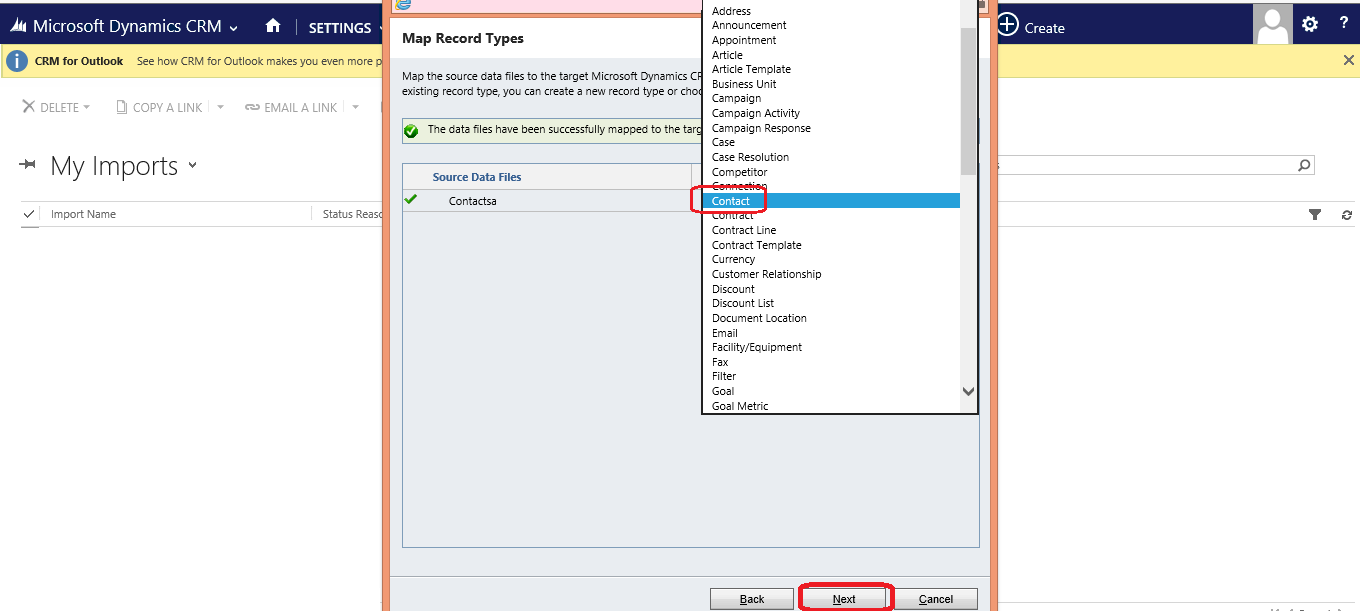
10. Select contact entity then next button
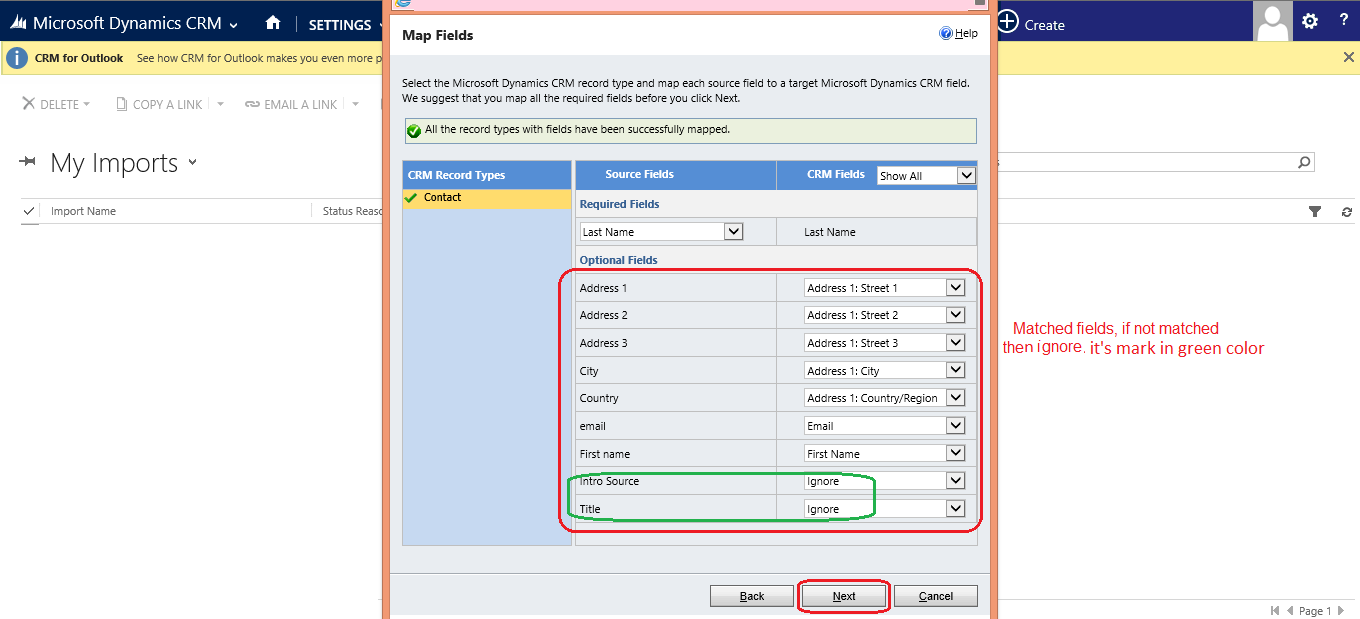
11. Match both fields below then click next.
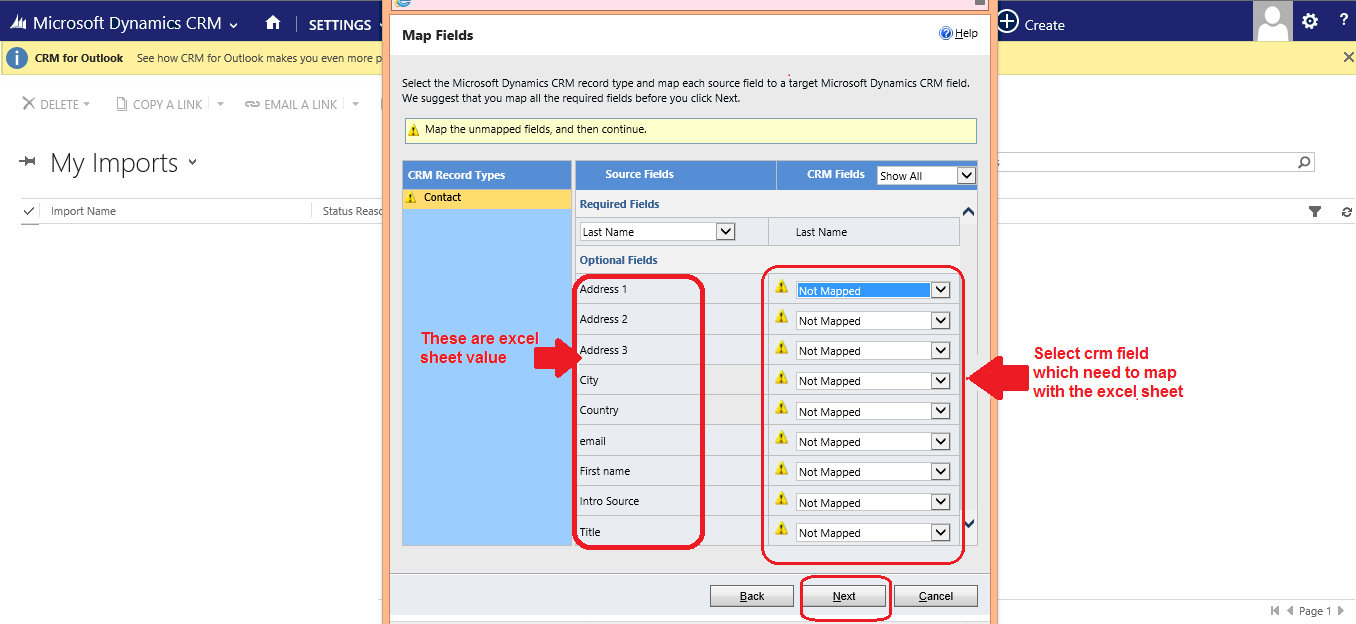
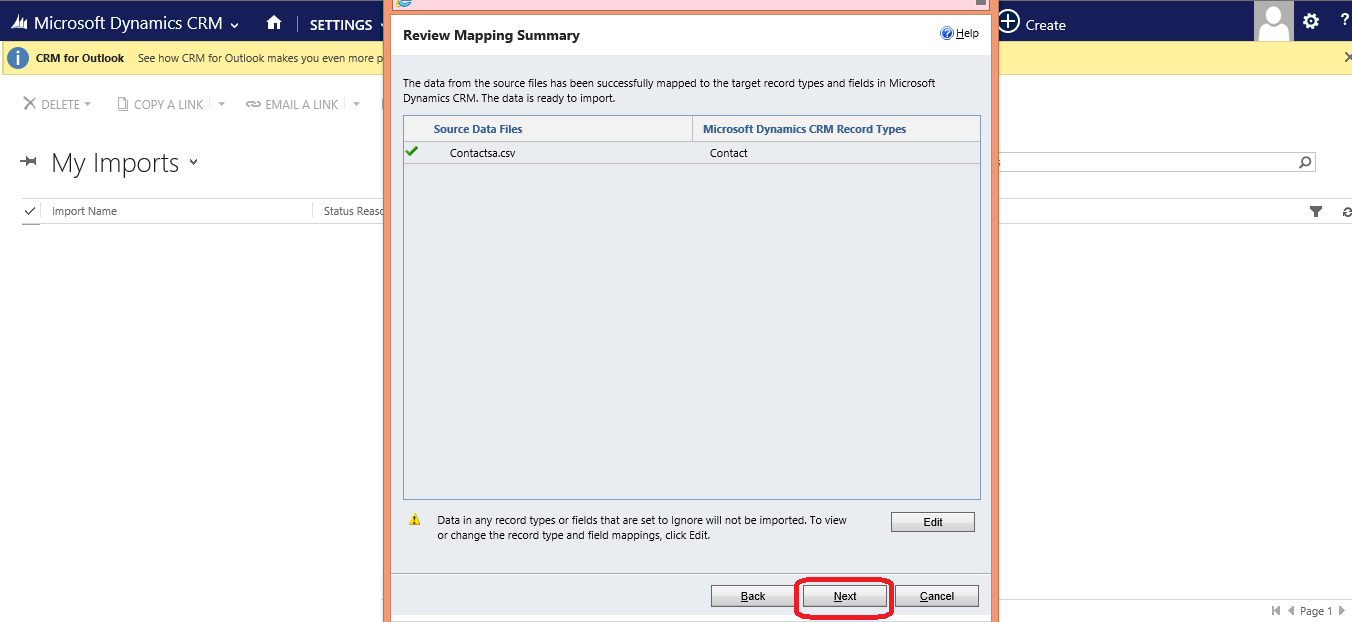
12. Fields are matched with excel sheet fields and crm fields according to your needs then click next.
13. Click next.
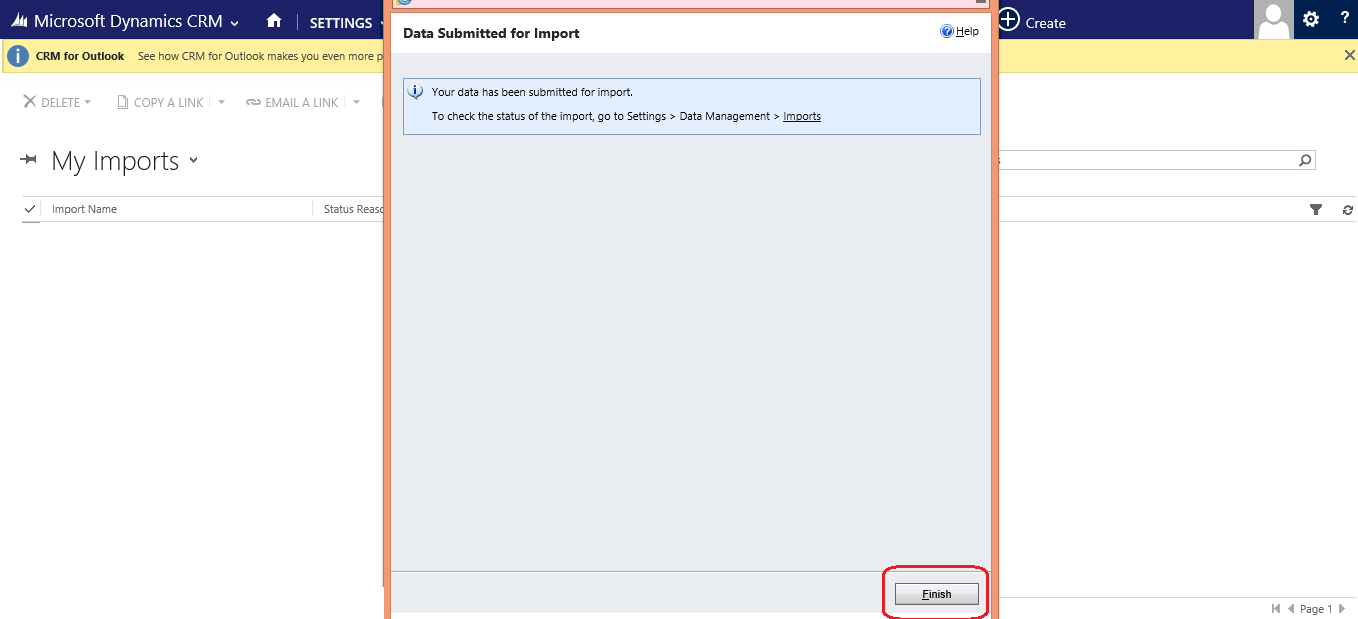
14. Click Submit Button.

15. Click Finish.
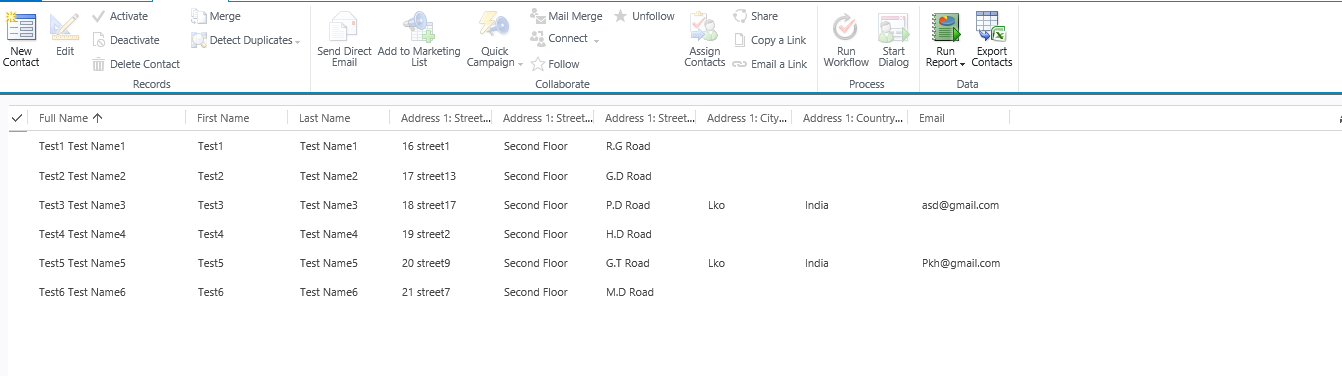
16. This is a final step after successful imports of contacts from excel sheet.
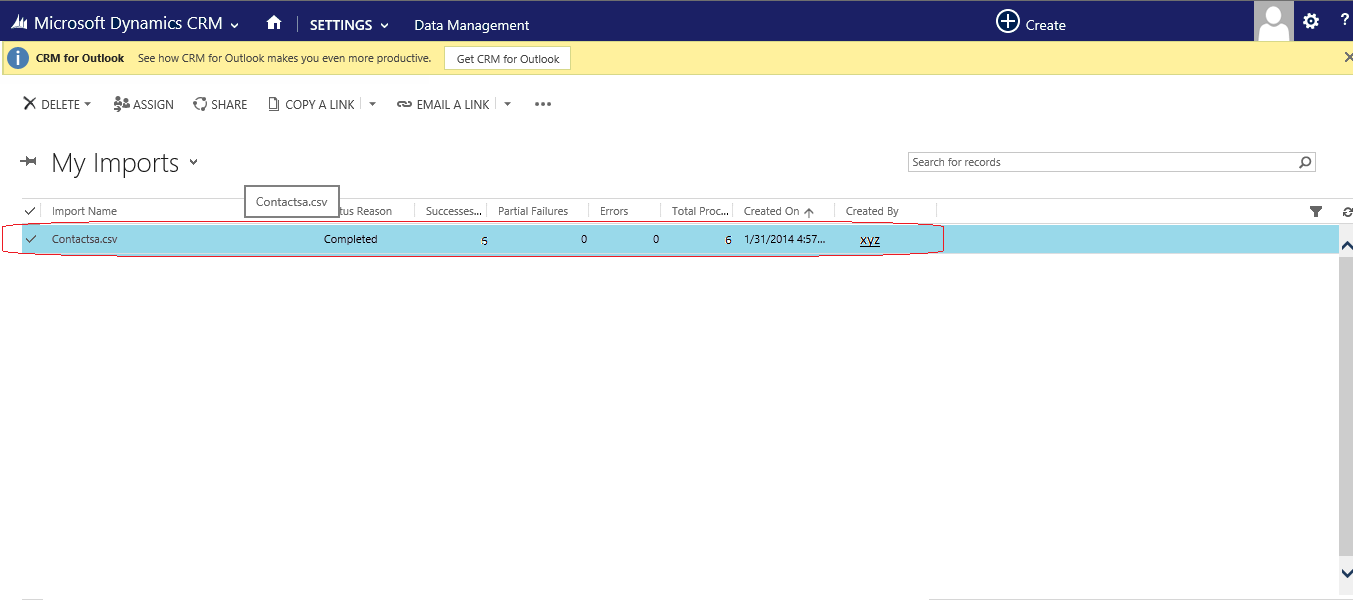
17. Import contacts in CRM, as shown in the screen shot.