On my first Blog, i mentioned the basics of DNN (DotNetNuke) as well as some interesting features of DNN.
In this blog,we move on to install DNN on our system and see how we can use it ---
Installation of DNN is very easy if you know about the basics of DNN and you install DNN software in your system.The DNN installation requires following prerequisite features—
1)You must first Configure your IIS (INTERNET INFORMATION SERVICES).
2)SQL MANAGEMENT STUDIO must be present on your system.
3)Visual Studio IDE 2015 (must be installed).
4)Requires Internet Connection
If you have all the Prerequisites then you can move on with the installation of DNN Version 8.0.3.
Given below are the steps that must be followed for the Installation of DNN-
1) If you are installing the newest version of DNN you must have DNN 8.0.3 Installation pack, which is available on www.dnnsoftware.com (http://www.dnnsoftware.com/community/download).
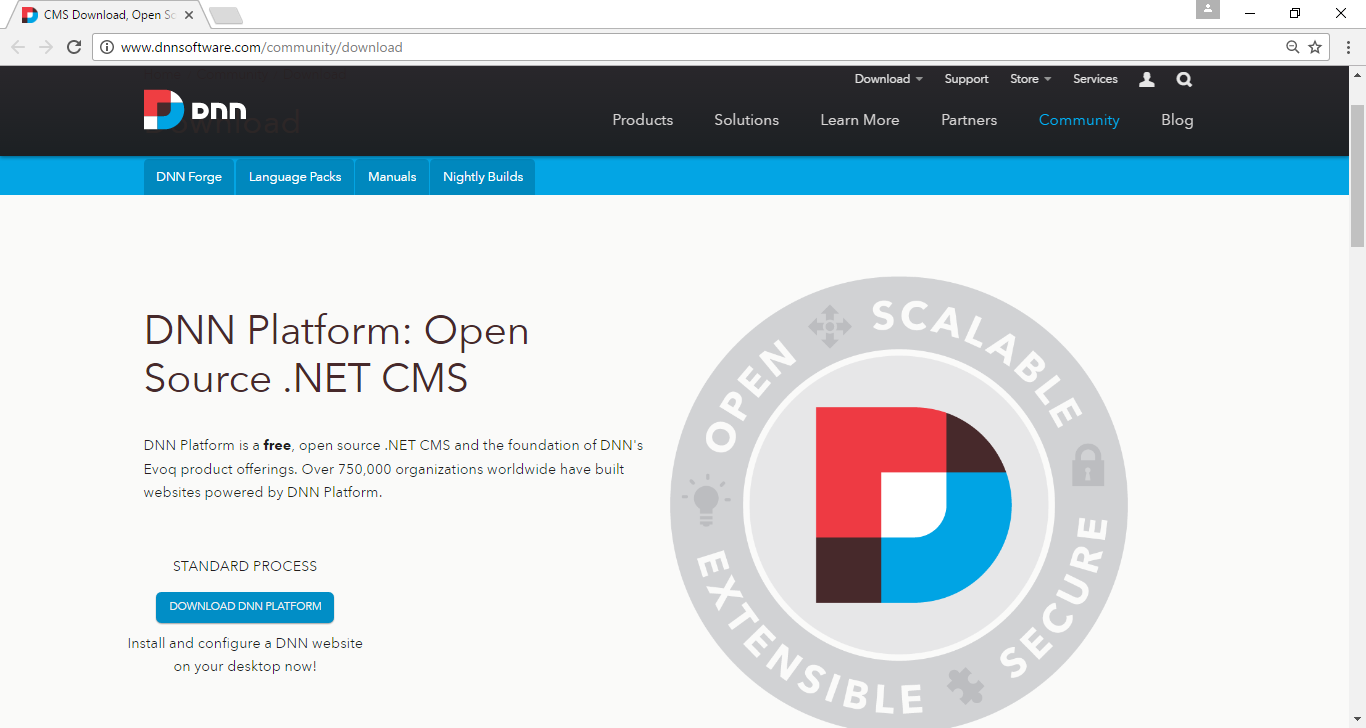
Here you find Download DNN platform button, clicking on this button will get you redirected to the App Gallery window--
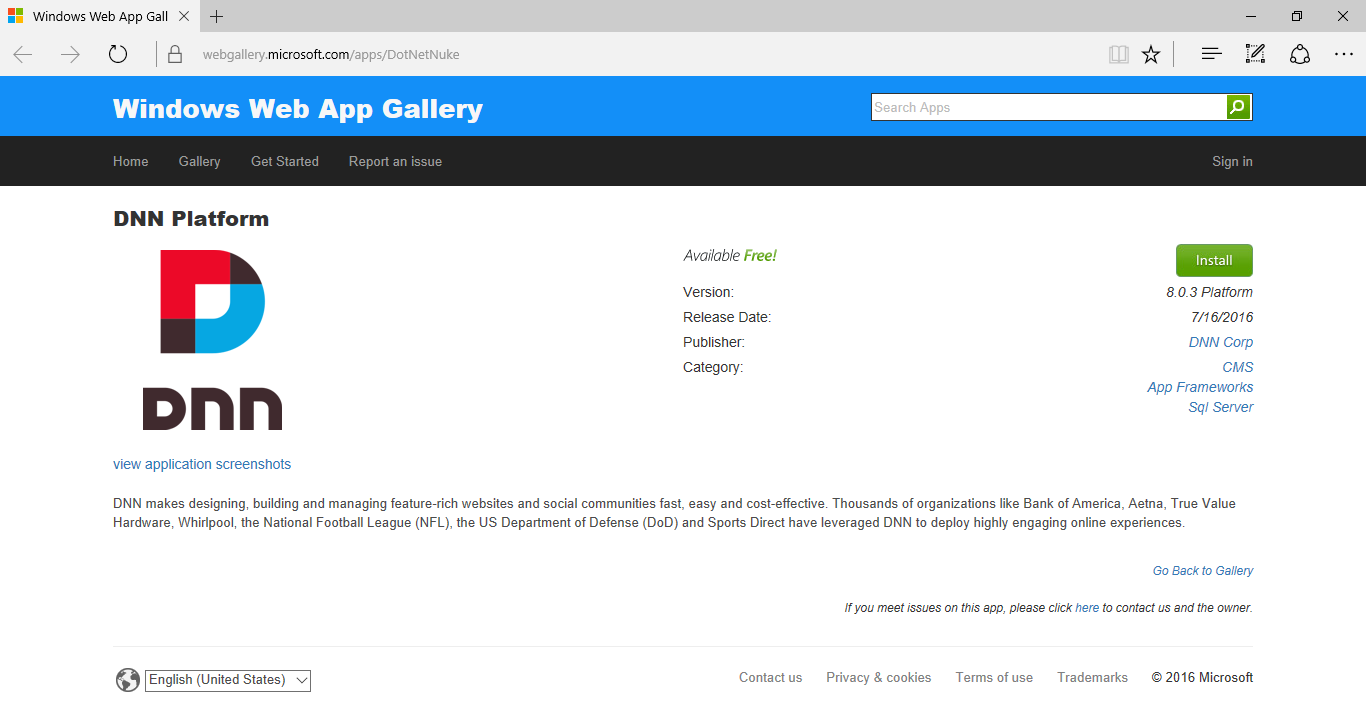
Now you have to click Install.This will download the DotNetnuke.exe file to your system
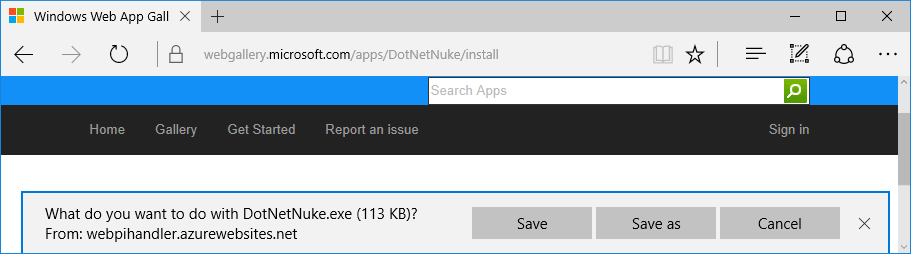
now install DNN application file.Alternatively you can install it from http://dotnetnuke.codeplex.com/#.
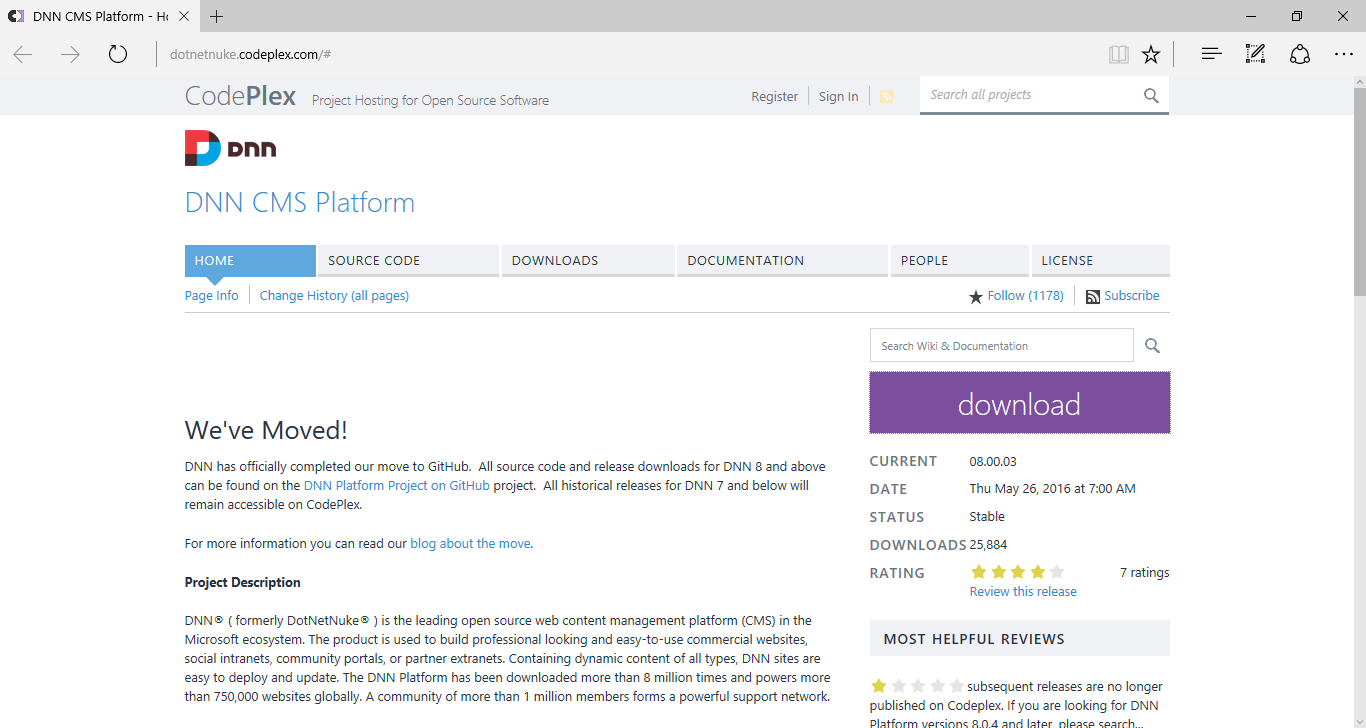
On clicking the download button on the appearing screen ,a popup window of download DNN will appear-

Download and save the Zip file.
2) Now you extract and save the .zip file to your system.
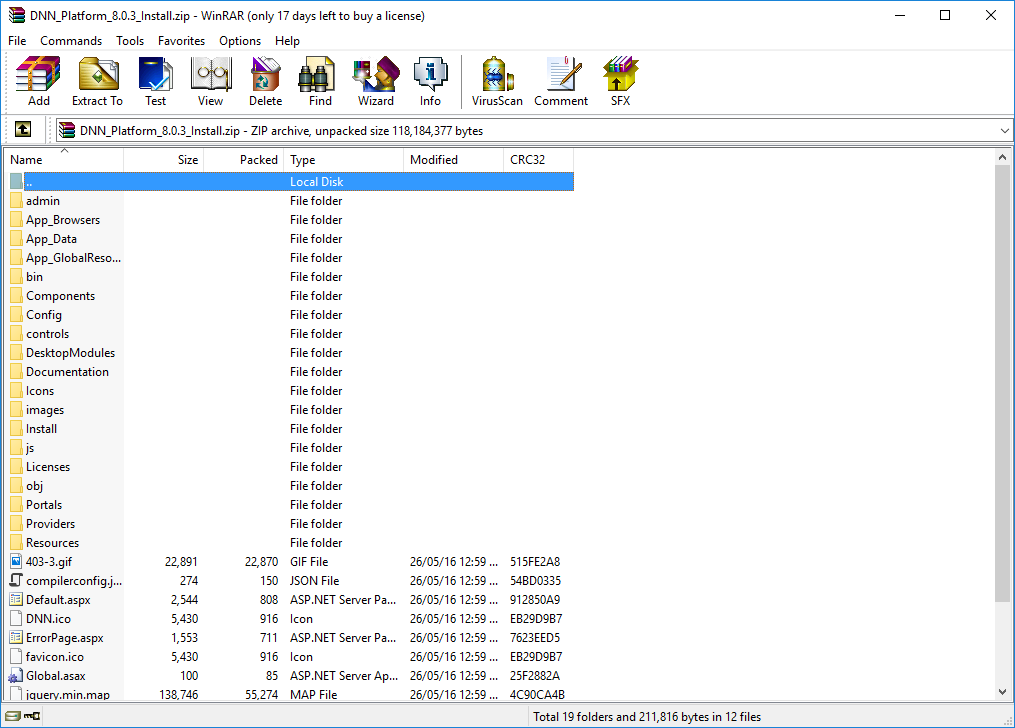
After extracting the file you will find :-
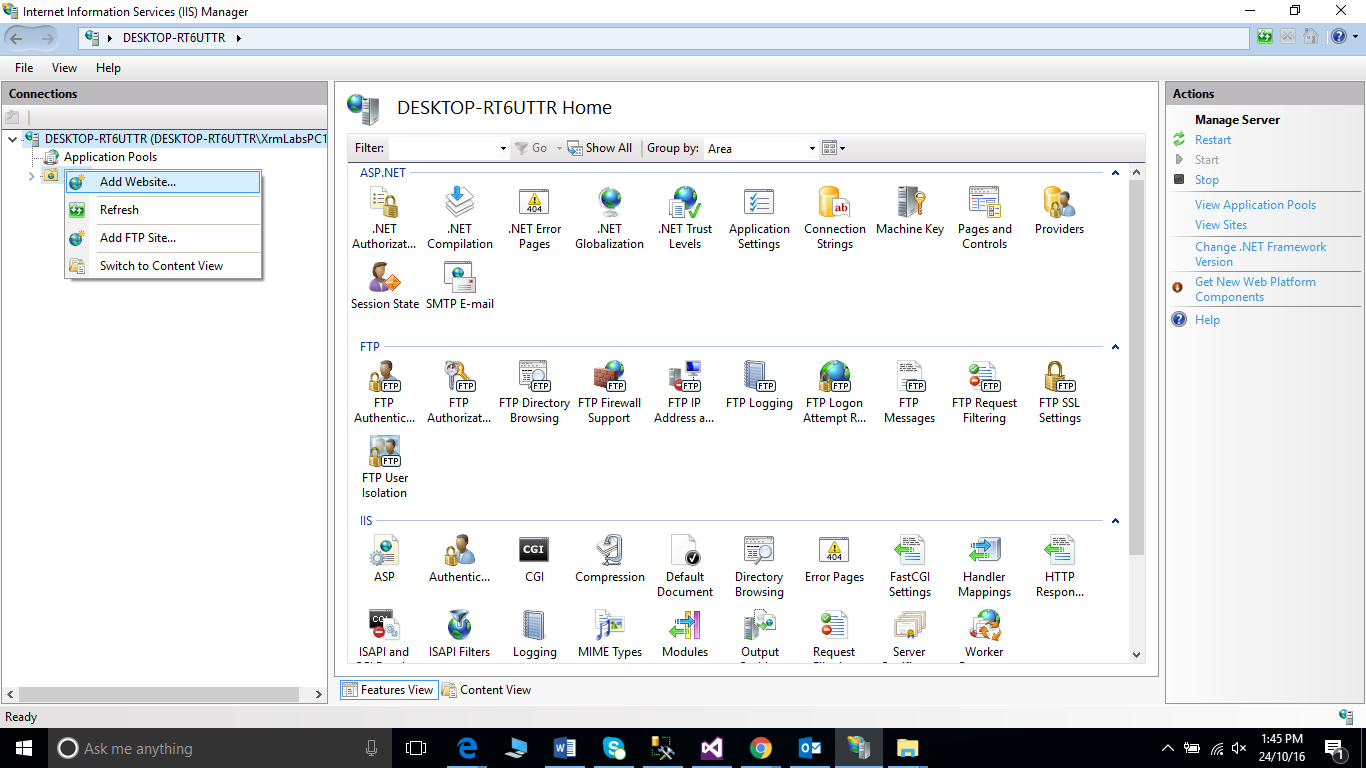
3) Now run “IIS” on your machine (you can simply type “inetmgr” in search box, it show the Internet Information services (IIS),Ignore configuration of file(if done already).
Move to hte IIS connection view and add a website by right clicking the Add Website option-
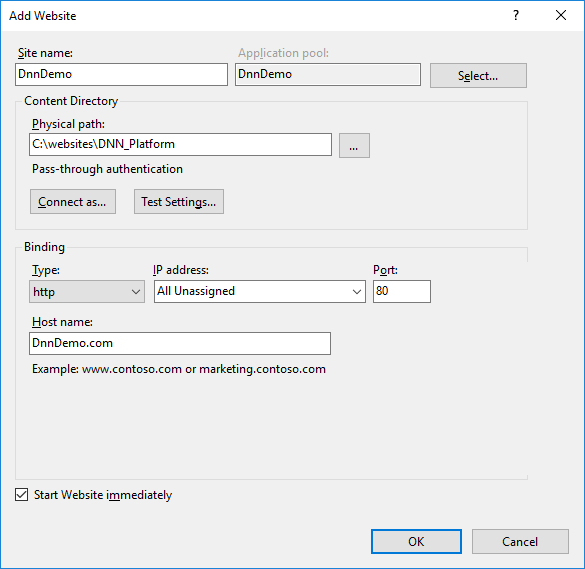
Here you enter the desired site information like site name, path to where it will located and in domain name you will provide the desired domain for your website —
4) Now you have to give privilege to the newly created folder by right clicking on the folder, goto properties in properties window then goto security tab—
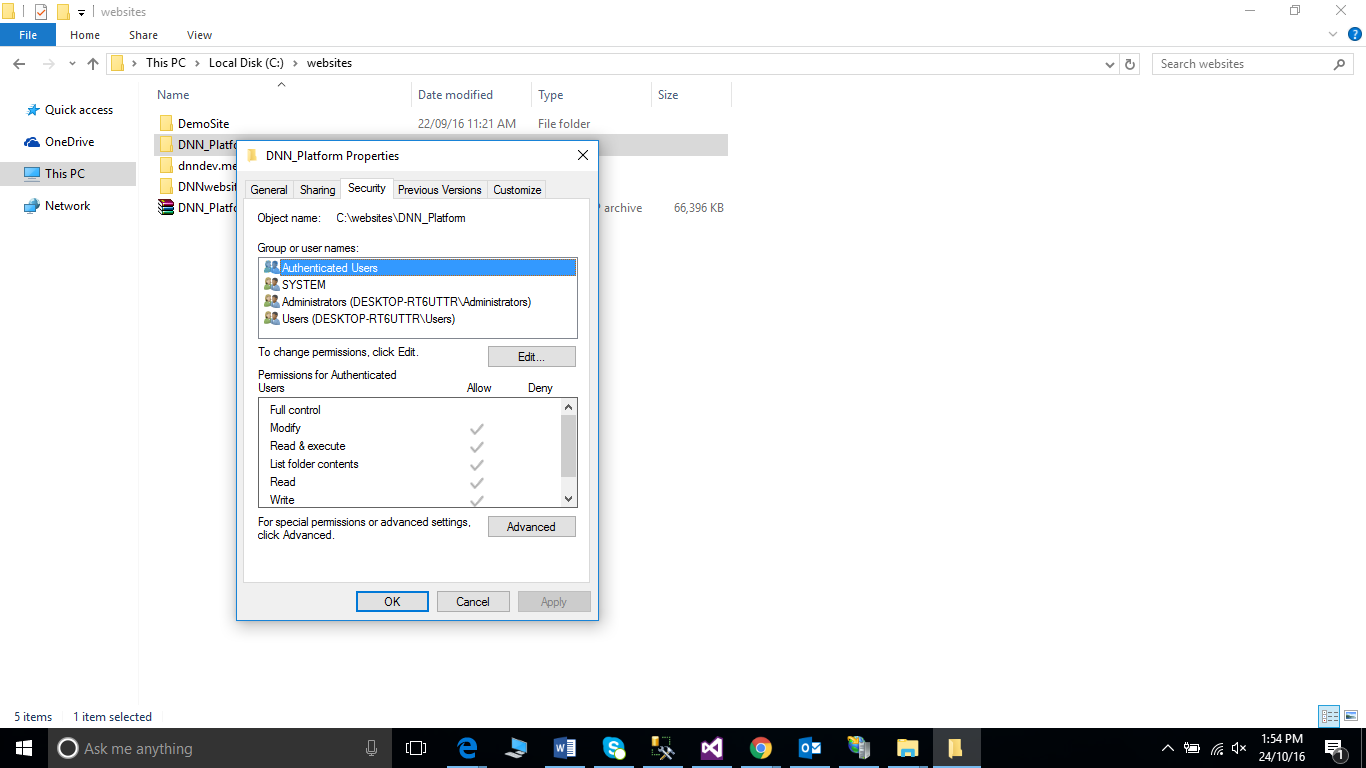
Click on 'Edit' and then 'Add' after it write ‘IIS APPPOOL\-------’ in the blank space.You are required name your website and click on Check Names button --

After it click on OK. Now give the privileges to the site folder
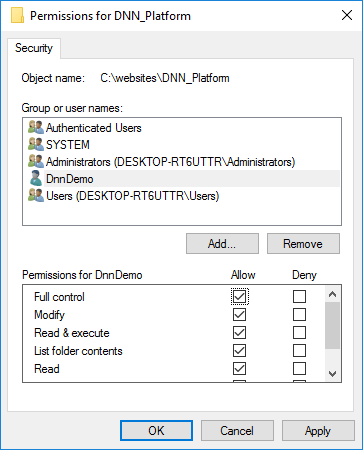
and click OK. Now you have rights to create and modify the site and folder.
5) Bind the Site Alias on the IIS.
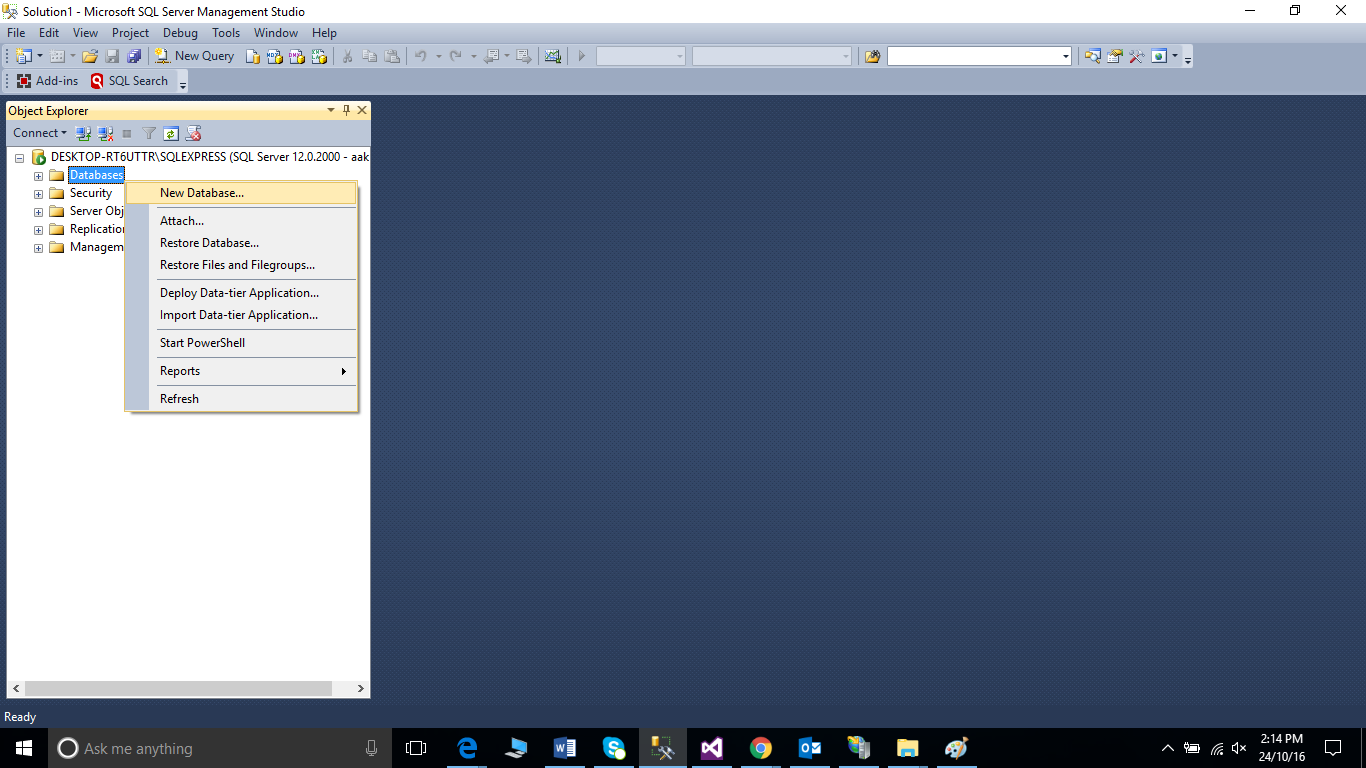
6) After all this process you need to create a Database for you site. On SQL management studio ,create a Database.
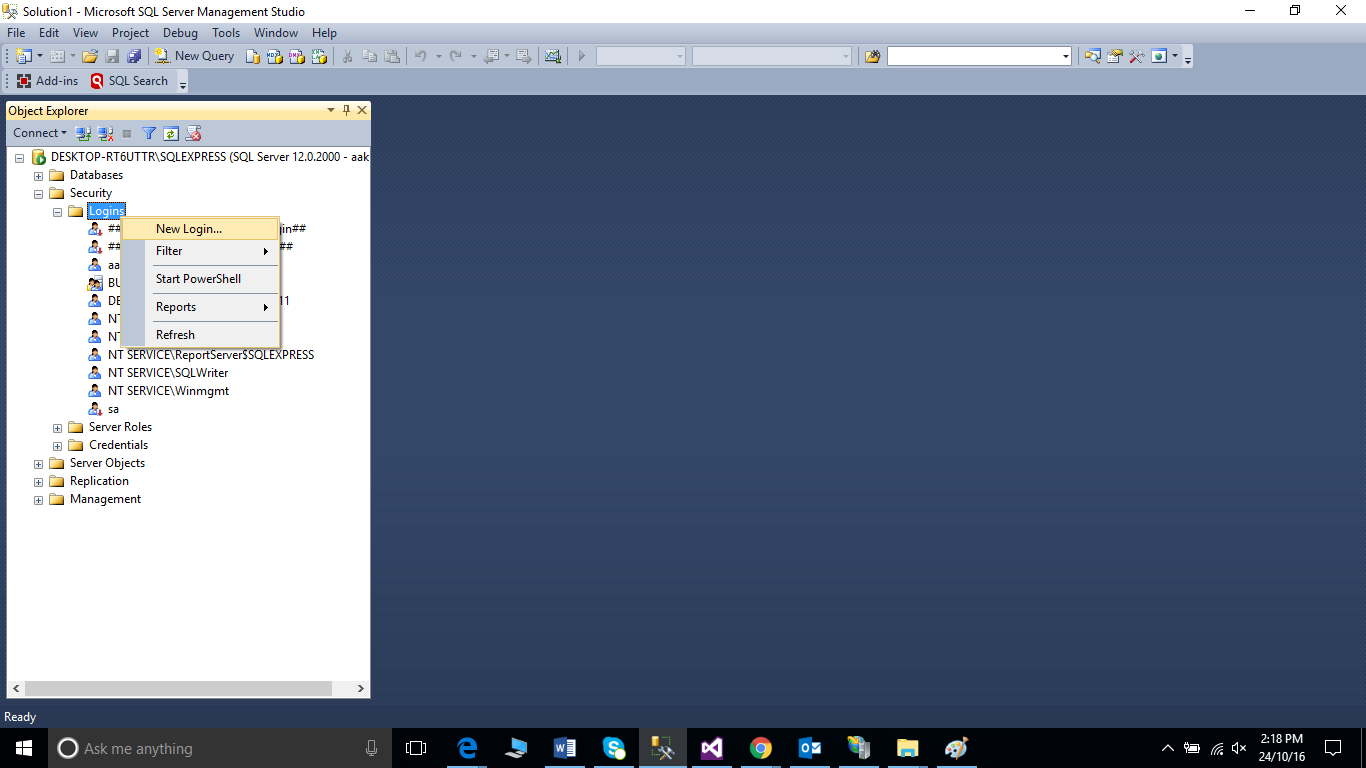
After creating a Database you will be required to create a user, which have all the right of the Database.
To enter details,navigate to SQL Server authentication and enter Password .Then uncheck all the Checkbox appearing on the Popup window.Now on the USER MAPPING section—
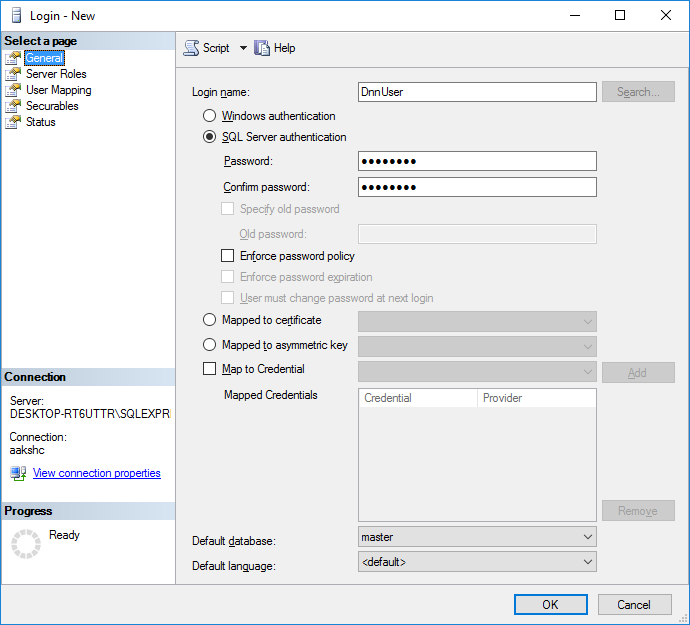
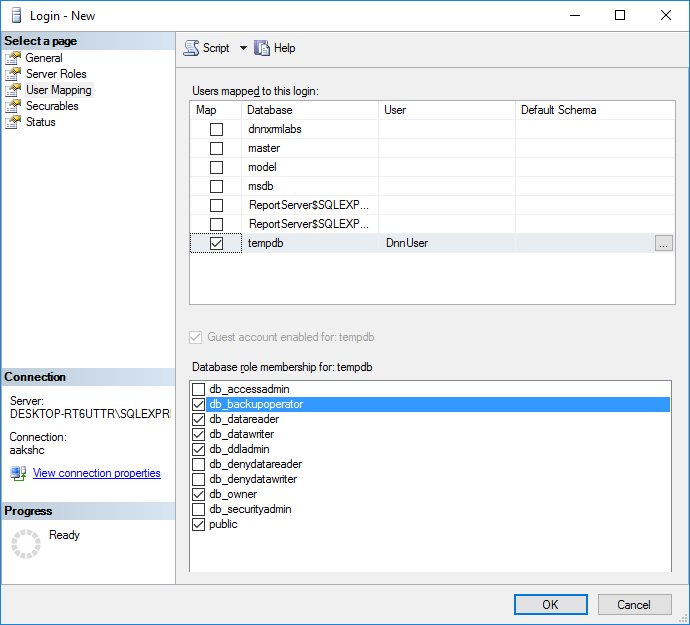
Select the database which you created for your website and check all the wanted membership and click OK.
7) After that process you are required to enter the Host entry on local Machine. For that you need to go on following location - C:\Windows\System32\drivers\etc
Here you will find the Host file,here enter the website Name with the local IP
Ex- 127.0.0.1 www.dnndemosite.com (The site name must be bind with IIS site)
Now open the browser and type URL of your newly created website. It will provide the information and create the Host user.
Now run your website easily in your favorite browser by entering the name on URL.
èNow the Module development and how to use DNN is continues on Next blog of XrmLabs.com--